How to Build the Annual Planner
A short video walkthrough of how to Build the Annual Planner from the TeamBuildr knowledge base.
Watch or read
3 minutes across 3 chapters. Click any chapter or timestamp to jump straight there.
3 chapters
In this video I'm going to walk through all of the actions that are allowed to you in the plan portion of the planner in team builder. You can navigate to the planner by going to coach tools in your top nav bar, scroll down to the planner underneath manage calendars. Upon entry you'll be prompted to select a calendar to start planning on. You can select either a parent calendar or an individual athlete level calendar. I've chosen the hockey calendar and I've pre-built something on here for demonstration. When I scroll down to the planning area you'll notice a blue shaded box with a plus sign. Interacting with that area will create a new block. I can name the block and change the color from here. I can hit enter to bring me back into this planning area. Double clicking a block.
Will allow you to change the name or change the color as well. Hitting enter again will return you to the main area. Single clicking on a block will allow you to expand this horizontally both left and right. So I can expand it that way and I can expand it this way. I cannot expand a block vertically though I can click and hold and drag it vertically. You'll notice that as I drag it down on the sheet it will expand more rows for you to start editing on. You can also add more rows by just selecting and creating a block here. You'll notice that a couple there. To delete a block you can single select a block and then hit delete or backspace on your keyboard. In moving things vertically if you collide with something.
Still stuck? Contact support →
Read next
More in Reporting
Walkthrough
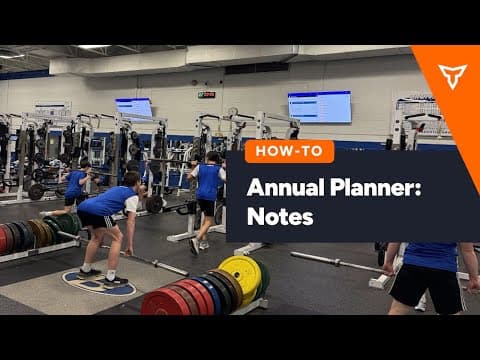
FreeAnnual Planner: Notes
A short video walkthrough of annual Planner: Notes from the TeamBuildr knowledge base.
Also in Platform & Admin

Walkthrough
FreeFinding the Relative Strength Coefficient
A short video walkthrough of finding the Relative Strength Coefficient from the TeamBuildr knowledge base.
Walkthrough
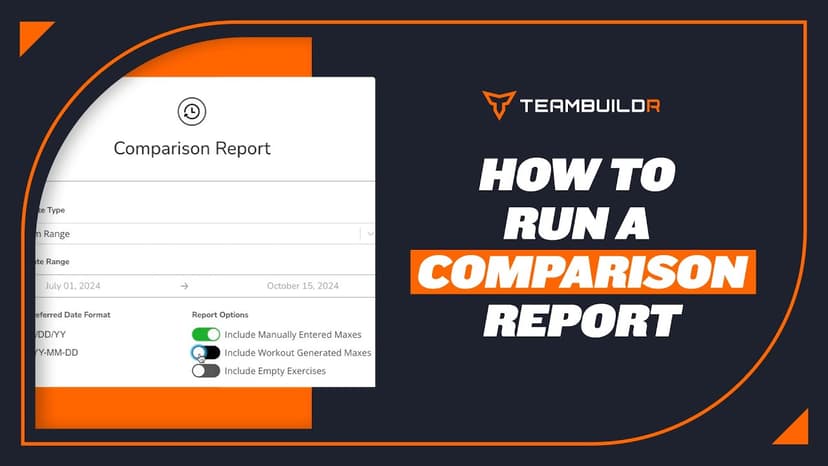
FreeHow to Run a Comparison Report
A short video walkthrough of how to Run a Comparison Report from the TeamBuildr knowledge base.
4 chapters · 10 lessons
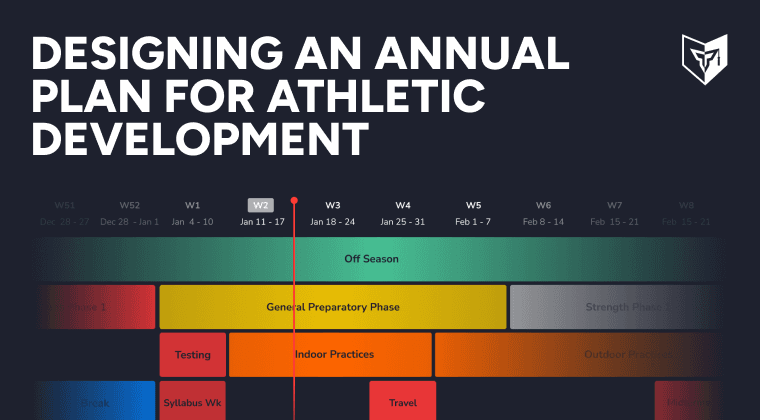
Free · sign upDesigning an Annual Plan for Athletic Development
Discover the power of creating a strength and conditioning annual plan for your athletes. Master Teambuildr's annual plan feature to achieve your goals efficiently.
Spreadsheet · 2 walkthroughs
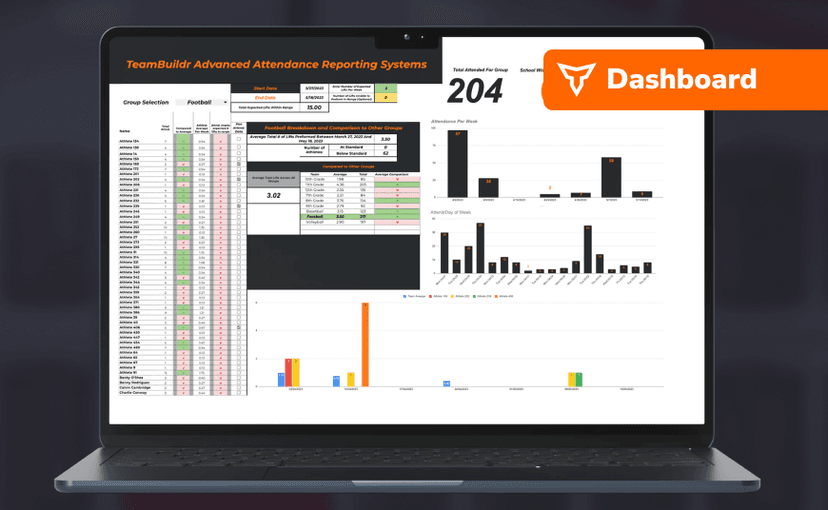
Free · sign upAdvanced Attendance Report
Attendance tracking for PE and weights classes that goes past a headcount. Copy the template and it totals participation per student over any window, ready to drop into a grade or a report to an administrator.
Spreadsheet · 2 walkthroughs
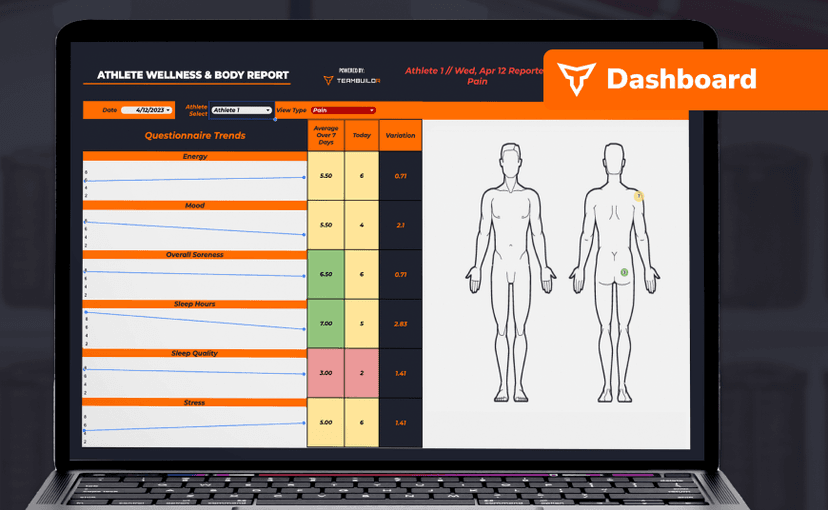
Free · sign upAthlete Wellness & Body Report
Track daily wellness check-ins and body composition in one sheet. Copy the template and follow the walkthrough to connect your athlete responses, then use the report to spot who is trending the wrong way before it costs you a session.
- Format
- Walkthrough
- Brand

- Category
- Reporting
- Topics
- Platform & Admin