Adding a New Athlete
A short video walkthrough of adding a New Athlete from the TeamBuildr knowledge base.
Watch or read
3 minutes across 3 chapters. Click any chapter or timestamp to jump straight there.
3 chapters
In this video we're going to go over the process of adding athletes into TeamBuilder. So there are basically three methods to do this and they all take place under Coach Tools and Manage Users. So the first way to add an athlete is simply just to go to the bottom right where you see this green plus sign. And then you can go ahead and add in an athlete or client manually by typing in their first name, last name, and email address. So you do need a valid email address because when you do add an athlete here, it will send them an invitation to join the TeamBuilder account.
Now you can fill in other information as well such as assigning this athlete or client to a group or assigning this athlete or client to a calendar. So that's the first method. The second method is going to be via Excel upload. So the first thing to do here is to download our template and then you can fill out the relevant columns, first name, last name, email. And then you can go ahead and upload this template here while assigning the group of athletes to a group or a calendar.
Still stuck? Contact support →
Read next
Also in Platform & Admin
Walkthrough
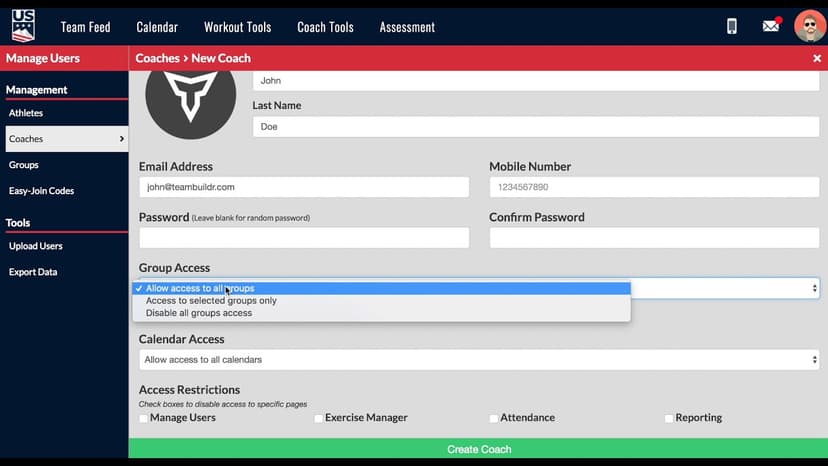
FreeAdding a New Coach in TeamBuildr
A short video walkthrough of adding a New Coach in TeamBuildr from the TeamBuildr knowledge base.

Walkthrough
FreeAdding a new exercise on Build (New Build)
A short video walkthrough of adding a new exercise on Build (New Build) from the TeamBuildr knowledge base.

Walkthrough
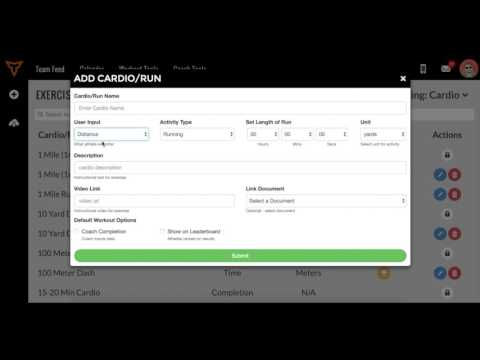
FreeAdding Jumps and Throws in the Exercise Database (Vertical, Broad, etc.)
A short video walkthrough of adding Jumps and Throws in the Exercise Database (Vertical, Broad, etc.) from the TeamBuildr knowledge base.
Video · 1 min
FreeAdding Jumps or Throws in Exercise Database (Vertical, Broad, etc.)
Adding Jumps or Throws in Exercise Database (Vertical, Broad, etc.) — from the TeamBuildr YouTube channel.
Spreadsheet · 2 walkthroughs
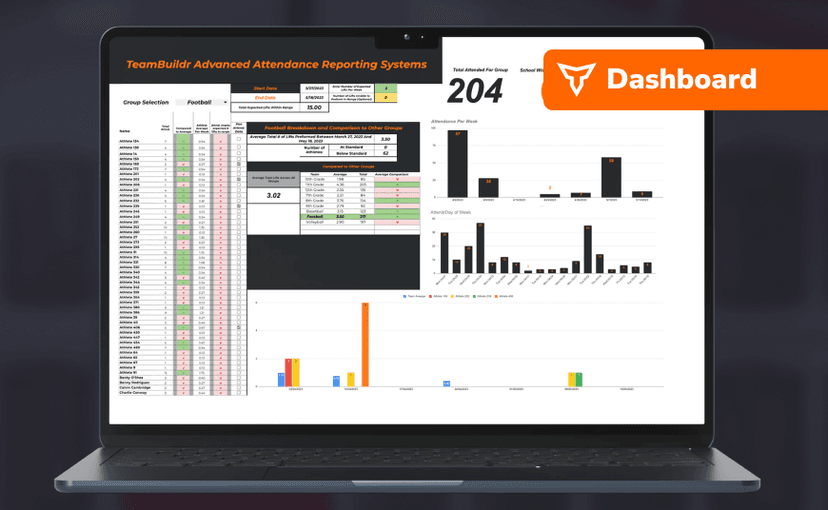
Free · sign upAdvanced Attendance Report
Attendance tracking for PE and weights classes that goes past a headcount. Copy the template and it totals participation per student over any window, ready to drop into a grade or a report to an administrator.
Spreadsheet · 2 walkthroughs
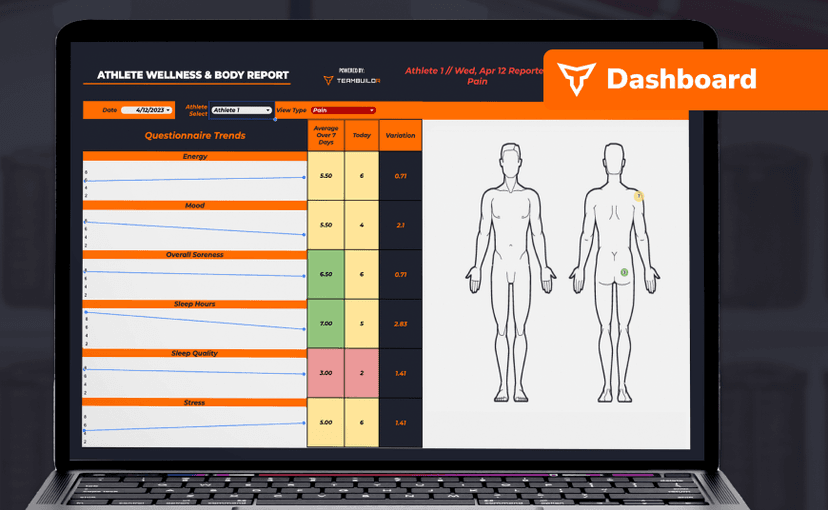
Free · sign upAthlete Wellness & Body Report
Track daily wellness check-ins and body composition in one sheet. Copy the template and follow the walkthrough to connect your athlete responses, then use the report to spot who is trending the wrong way before it costs you a session.
- Format
- Walkthrough
- Brand

- Category
- Manage Users
- Topics
- Platform & Admin